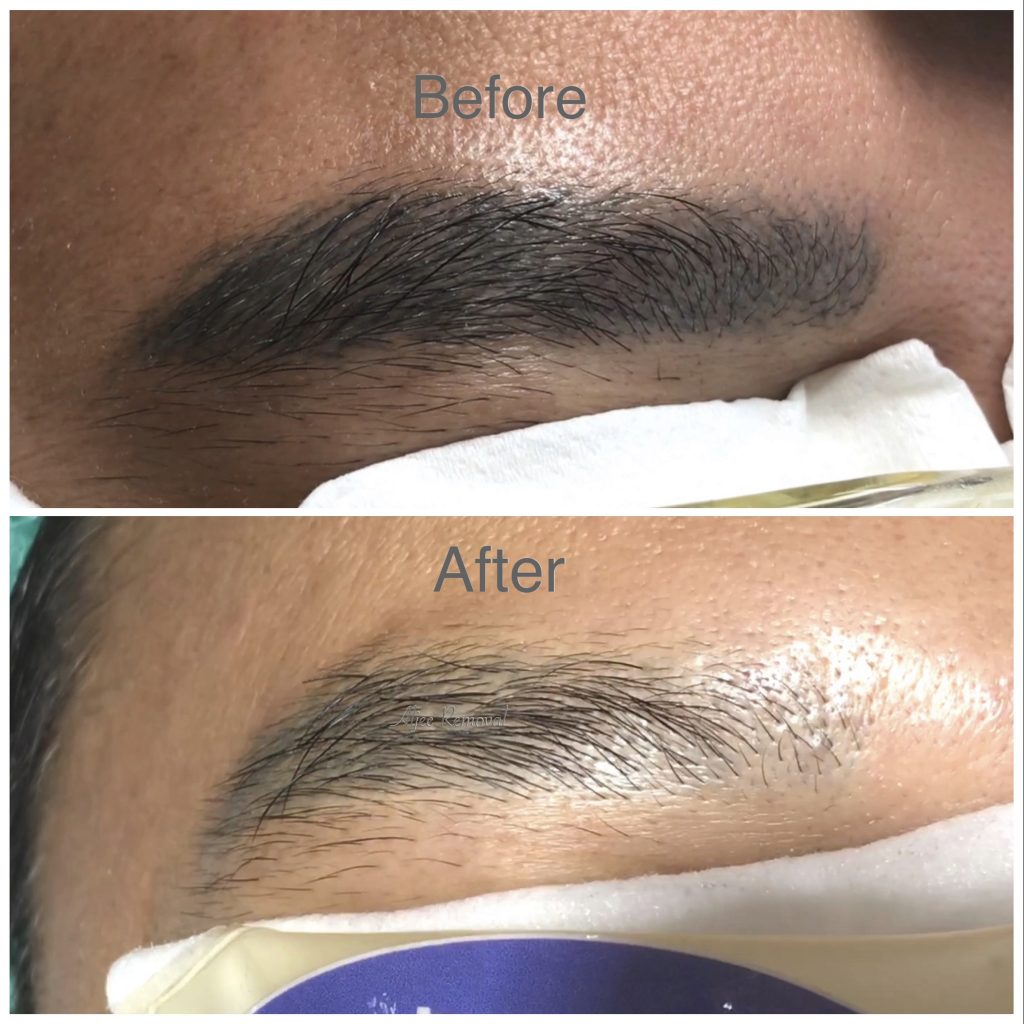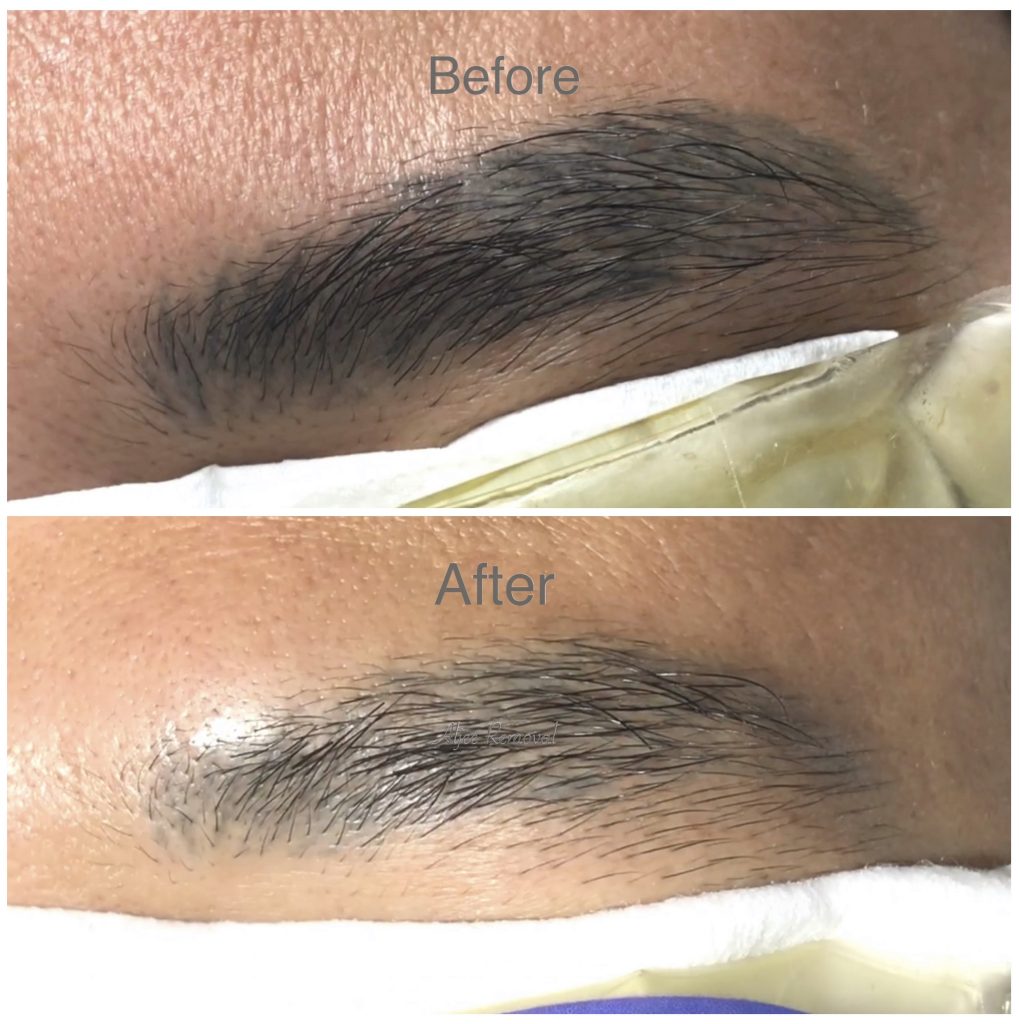

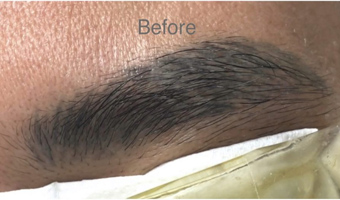
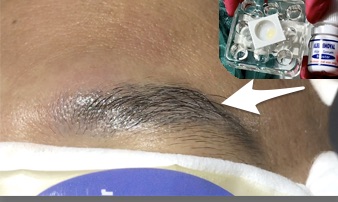
Please always take a photo and record a video before and after the process as a point of reference. This is very important.
Starting by cleaning and apply numbing cream for about 20 minutes.
While waiting to prepare the product and equipment.
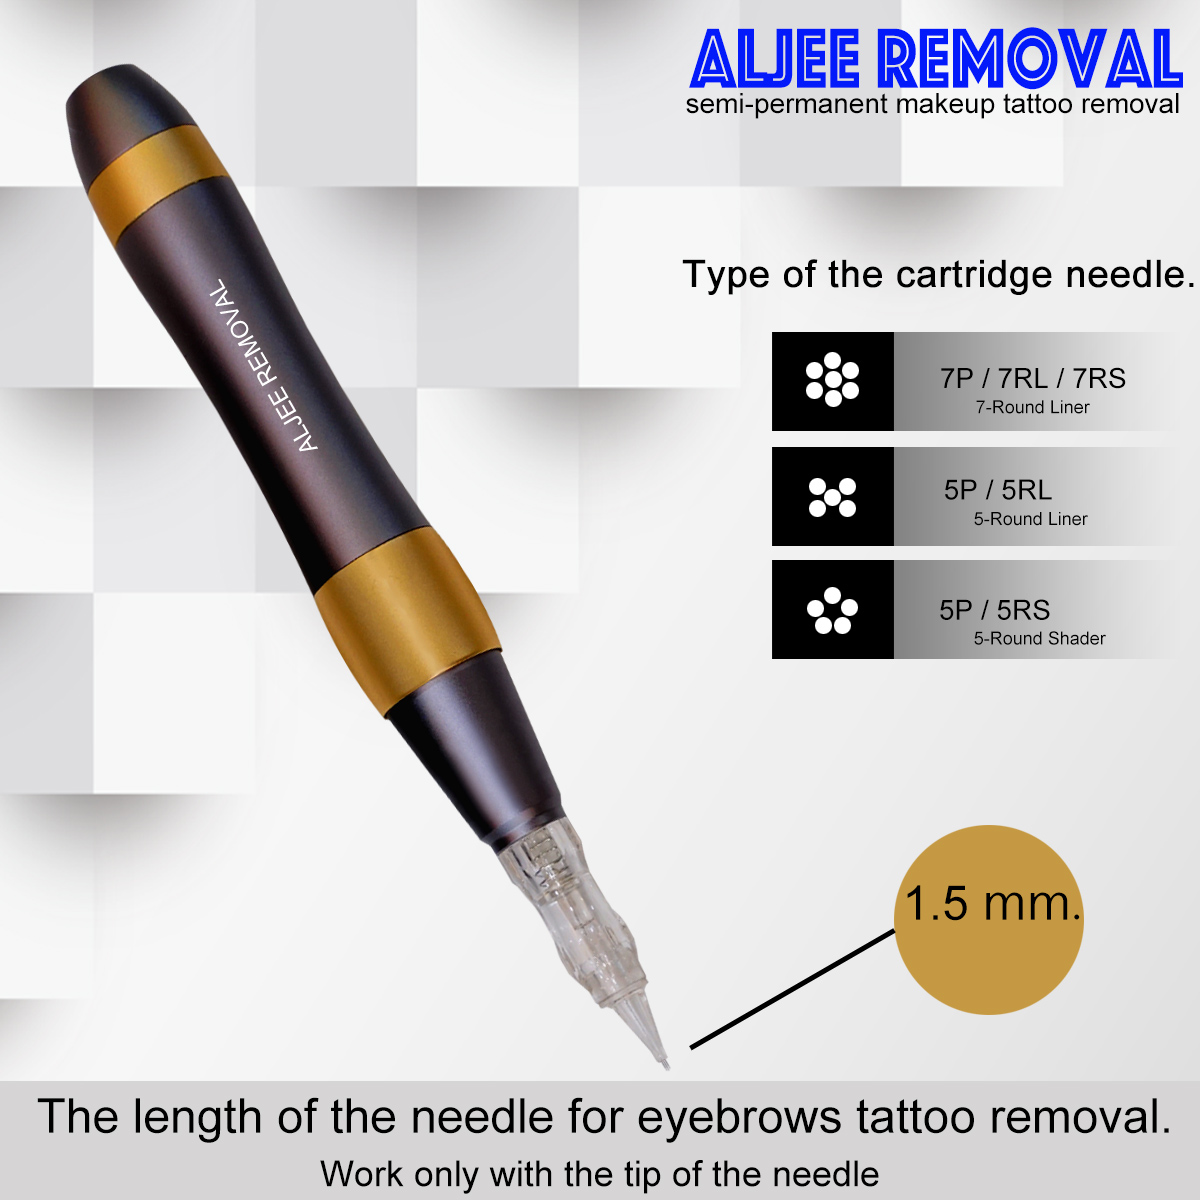
I recommend 5 or 7 rounds PMU needle cartridge ( 7P, 7R, 7RS, 5P, 5RL, 5RS ). it’s safest for the skin. As I researched, the 5 and 7 rounds needle cartridge is the safest for skin tattoo removal with the ALJEE product. And I setting the length of the needle to 1.5 millimeters. But remember, please remember that length of the needle has nothing to do with the depth of your work. I hold my handpiece at 80 – 90 degrees .
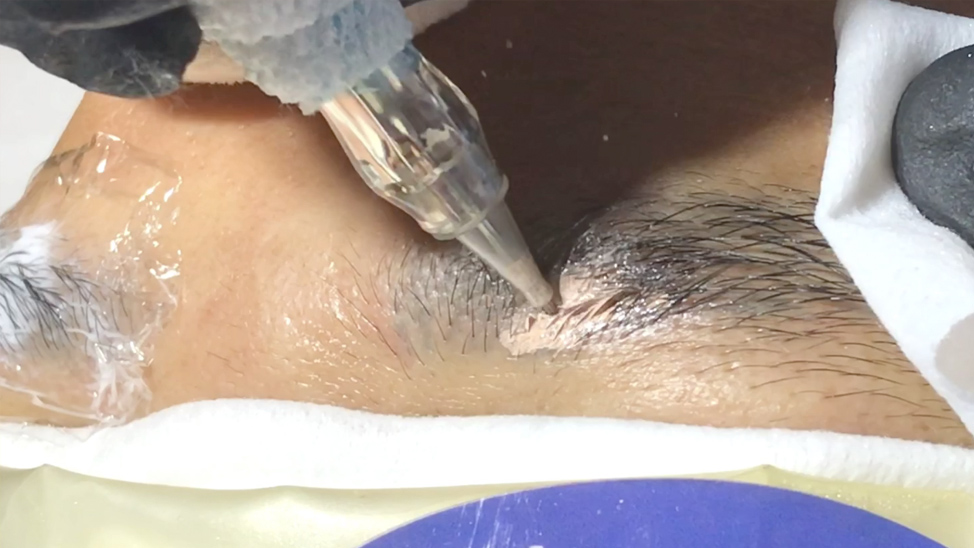
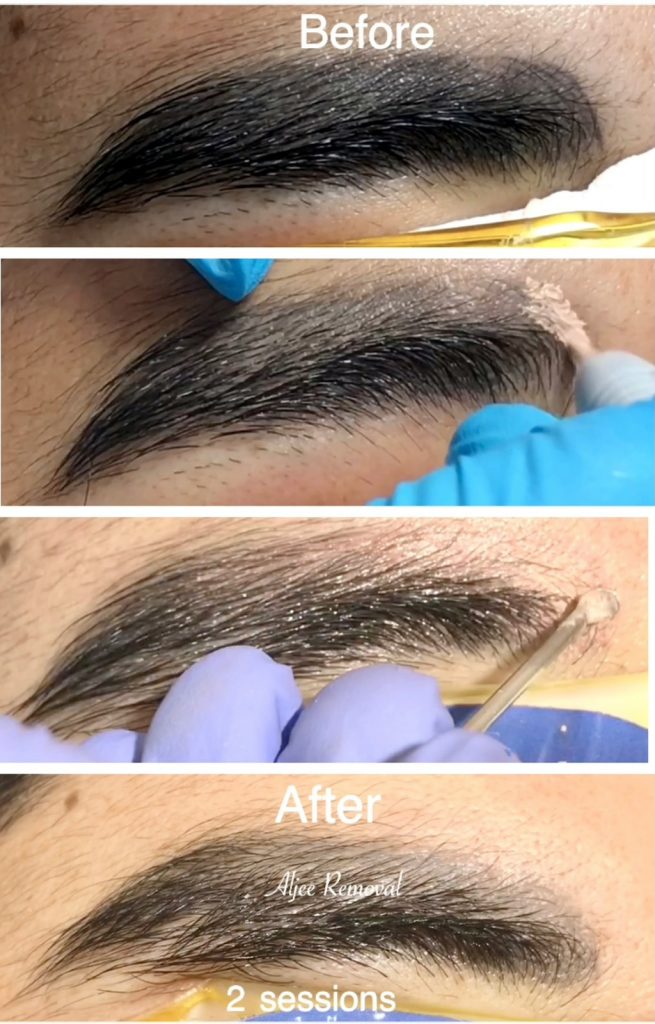
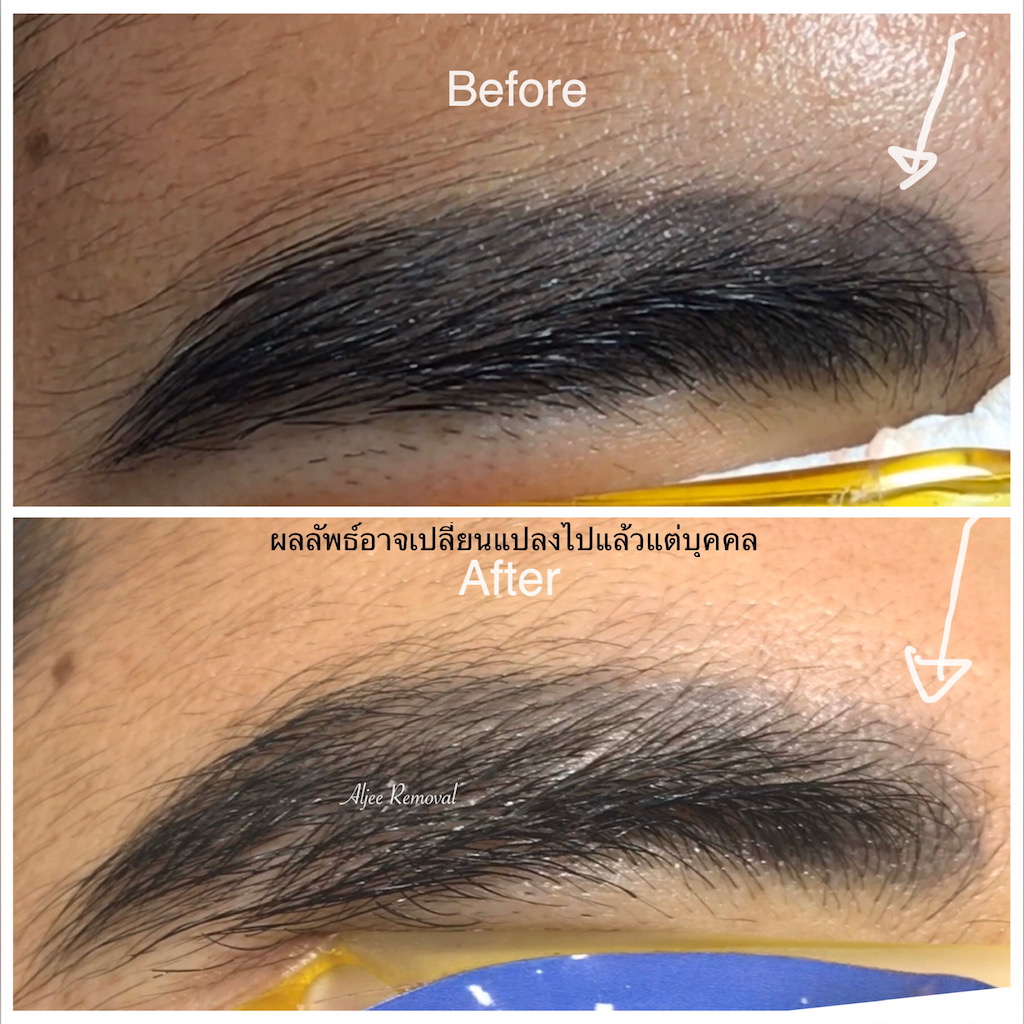
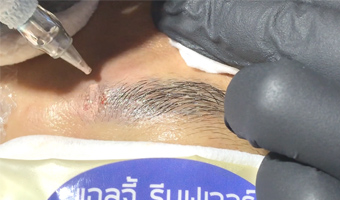
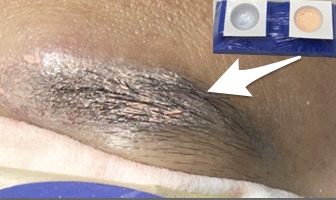
This is the same technique that you make it shading or Ombre, but deeper more than. Move your hand a little bit like slow to medium speed, don’t move it too fast. Right. So. the best way would be. When you first start I would suggest you do remove and wipe it to check first. And I wipe it to see how it goes. and then I go a little bit deeper on those spots to put the product down. to find the proper depth and the best technique with the pressure and the depth. is the key. Depth is very important, if you work too shallow you will place the product in the epidermis, the old color will not disappear. Because the product can not react with the old colors pigment. That means the efficiency of the pigment removal is reduced. If you work too deep, too heavy you will cause scarring. It’s very important to control pressure depth. Right now I can see the color start to fade away. that is the right pressure and the right depth. yes. This way is correct. So the next segment does the same thing with the pressure and depth and working each segment continually. And I do the way with every client when I start to work. to check and make sure I do the right way. Yes, You can remove whole brows at the same time and then you wipe. That’s fine. But I like just remove a little bit and wipe it, just remove a little bit and wipe it. Because I would like to check each segmentally that it’s precisely. Right If the line is too dark and deep. We need to remove it again at that point. I recommend to you work segmentally and remove precisely and when finishing the first pass. And then apply anesthetic and move to another side and do the same thing.
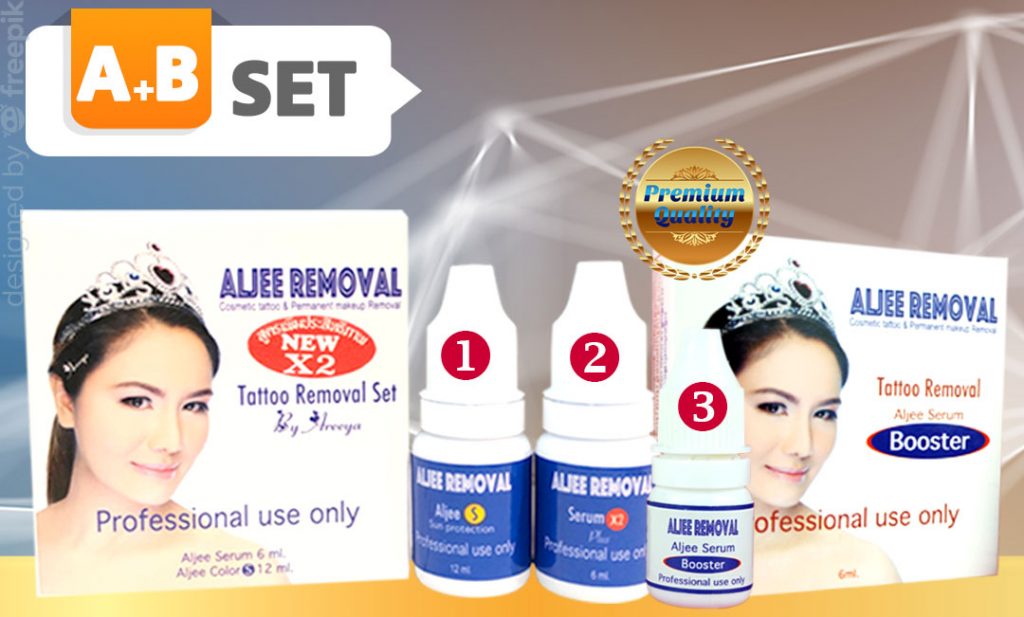
At the end of the procedure. We apply the Aljee Booster and leave a couple of minutes for performance-enhancing.
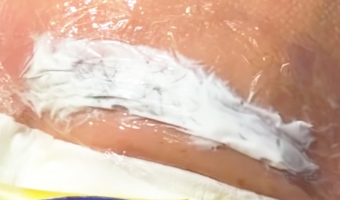
and then, apply on top with this product like this don’t wipe it off to protect the skin from sunlight. The procedure is done. And we can repeat it every 3 or 4 weeks as long as it is necessary for treatment.